How much time would you like to spend cleaning out hop debris clogs in your kettle strainer? If your first answer is none, you’re in luck. Hop spiders—sometimes called kettle spiders—allow you to add hops to your boil without clogging the system or getting into the fermenter.
Commercial kettle spiders are usually steel mesh filters that hang off one side of your kettle. But you also have the option of making your own, and the easiest way to do that is to create a metal tripod that suspends a filter bag over your kettle.
Whether you decide to make your own or buy one, a hop spider can make your hop additions easier to handle, save you from having to clean out equipment clogs, and make your brewing process much easier and more effective.
What’s so Great about Hop Spiders?
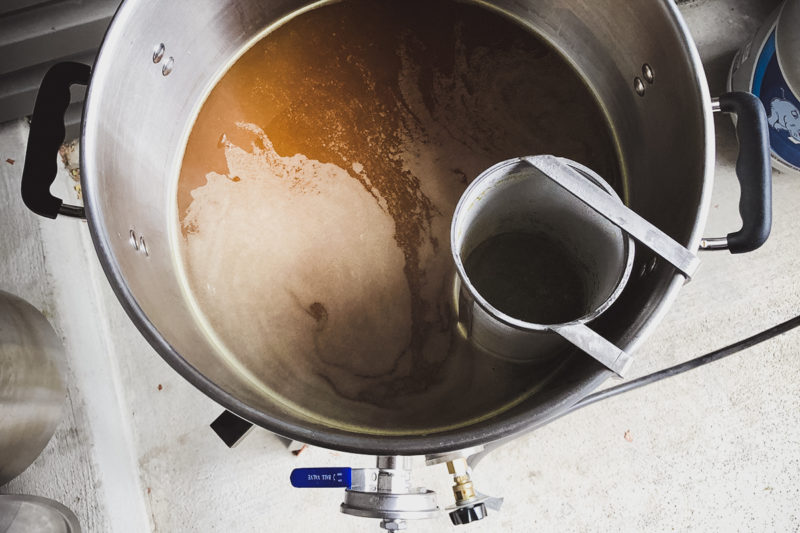
After sixty minutes of boiling, your hops are going to turn into a mushy pile of green goo. Sure, you can strain it before moving to the chiller or whirlpool the wort after its been chilled, but you still have to worry about any solids you might’ve missed before moving to the fermenter.
Enter the hop spider. It allows you to add hops throughout the brew. No more fishing out soaking bags of boiling hot hops. No more fiddling with multiple bags or worrying whether you tied them tightly enough.
Plus, it means less mess for you so you can spend less time cleaning and more time brewing and enjoying your beer. So why wouldn’t you use one?!
Hop Spider Drawbacks
Anything good thing in life has at least one downside. For the hop spider, it’s the possibility of affecting the aroma and taste of your beer by changing the hop utilization. This is of particular concern if you use a small filter or bag in your hop spider.
Crash Course on Hop Utilization
To give you a better understanding of how hop spiders might affect hop utilization, you have to understand the role hops play in brewing. Hop utilization is measured in International Bittering Units (IBUs), and essentially defines the hoppiness (bitterness) of a beer.
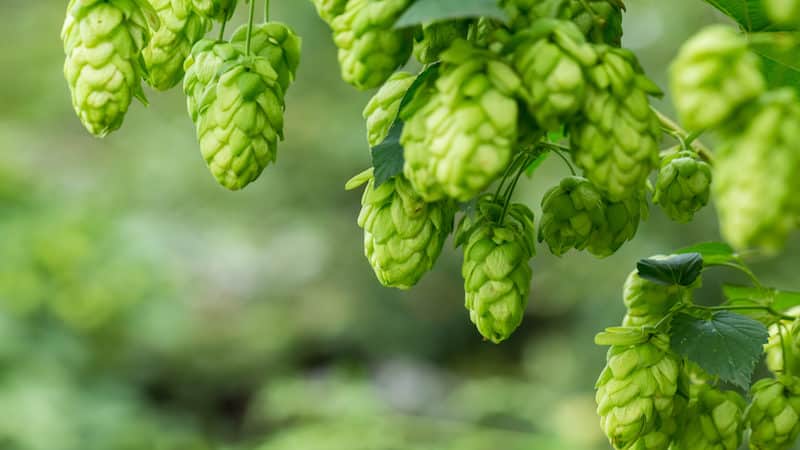
Hops contain a multitude of chemicals, but the three you really need to care about are alpha acids, beta acids, and essential oils.
Alpha Acids – They give beer its bitter flavor, prevent the growth of unwanted bacteria, and promote fermentation of the wort. When you boil hops for sixty minutes or more, you’re transforming alpha acids into iso-alpha acids, which are isomerized alpha acids. They’re a more soluble compound that gives your beer that delicious bitterness. A beer’s IBUs are determined by the iso-alpha acid content in parts per million.
If you don’t remember the definition of isomerization from high school chemistry, you’re not alone. We had to look it up too. Isomerization just means the chemical composition remains the same, but the structure of the atoms is different. Brewing beer is a science, after all.
Beta Acids – They also add to the bitterness of your beer, but more importantly, extend its shelf life. They don’t isomerize like alpha acids do. Instead, they oxidize during the fermentation process, meaning they lose electrons from their atoms, thereby changing their composition. Oxidation can have a negative effect on your beer’s flavor, which is why beta acids should be on your radar.
Essential Oils – They’re what add aroma and flavor to your brew. They’re much more volatile than alpha and beta acids, so oils from bittering hops will evaporate. This is why a recipe may call for you to add more hops in the last 5 to 15 minutes of your boil, or even at flameout. (You can also get these essential oils by dry hopping your beer.)
Because hops define the bitterness of your beer, you want to make sure they’re fully utilized in your brew. This is why the hop spider’s potential to inhibit hops utilization is a concern.
Improving Hop Utilization with a Spider
To get the full flavor from your hops, you want them to boil as freely as possible. You can still use a spider and get a good boil. Just keep these tips in mind:
- Do not overfill the hop spider.
- Make sure the bottom of the hop spider is at least one to two inches from the bottom of the brew kettle.
- Agitate the hops during the boil to increase utilization.
- Add more hops to account for utilization loss.
- Let the spider drain fully before removing it. (If you’re using a bag, do not squeeze the bag. Let it drain naturally.)
With these simple adjustments, you can still brew a hoppy IPA while using a hop spider.
Ready to improve your all-grain brewing process and dial in your system?
This video course covers techniques and processes for water chemistry, yeast health, mashing, fermentation temperature, dry-hopping, zero-oxygen packaging and more!
Click Here to Learn MoreHow to Build Your Own Hop Spider
The internet is packed with tutorials on how to make your own hop spider. A lot of them offer this same bit of advice: use a polyvinyl chloride (PVC) coupling or joiner, metal rods, and clamps to create the structure needed to hold a bag in the boil without tying it off. That way, you can add hops freely throughout the boil.
PVC couplers are inexpensive and the perfect shape, but we recommend not using PVC to build a hop spider. Why? Heat and PVC do not mix.
Sure, you won’t be submerging the top of the spider in your boil. But steam can warp the PVC if it’s hot enough, and potentially impart some plastic flavoring to your brew. Wouldn’t that be yummy?
Even worse, PVC is made from vinyl chloride, which is a human carcinogen, a substance that can cause cancer. In addition, when PVC is burned, it releases dioxins, at least one of which is also a carcinogen.
We highly recommend you stick with stainless steel just to be safe.
Hop Spider Construction Supplies
You should be able to find all these supplies at your local hardware store, but you can also order them online as needed.
- Eye protection (safety first!)
- Workstation clamps
- A stainless steel garbage disposal drain (at least four inches in diameter)
- 3 metal rods or carriage bolts that are as long as the radius of your kettle
- 6 nuts and washers of corresponding size to the rods or bolts
- Power drill and drill bit of corresponding size
- Center punch
- Cutting or multipurpose oil for lubrication
- A turn-key clamp that will fit your coupling or drain
- A food-grade nylon or mesh bag, depending on the size of your kettle
Hop Spider Building Instructions
Before you start anything, put on your goggles and secure your drain to a stable surface with clamps to prepare for drilling.
- Drill three equidistant holes into your drain. Make sure you use appropriate drilling methods for stainless steel so you don’t destroy your drain or hurt yourself.
- Clean off any scraps of steel that may have resulted from drilling.
- Thread the bolts or rods through the holes you drilled. Secure each side of the hole with a washer and nut.
- Use the clamp to attach the bag to the bottom of the spider. Tighten it as securely as possible.
- Test your hop spider in your brew pot.
- Your bag should suspend over the middle of the pot, and you should have a couple of inches of metal rod sticking out over the rim.
- The bottom of the bag should be at least an inch away from the bottom of the pot.
- While your hop spider should be stable, you can add another set of washers and nuts on each leg of the spider along the rim of your kettle for extra security, if you like.
Always clean and sanitize your hop spider before a brew session. It will get splashed with wort during the boil, and you don’t want to give harmful bacteria the chance to contaminate your next brew.
With mesh bags, you can wash or change them with every brew session. Just make sure you use the right homebrew sanitizing chemicals on every piece of equipment.
Best Commercial Hop Spiders
At this point, maybe you’re saying, “Look, I already brew my own beer. I don’t want to have to build stuff too!” We hear you. If you’re not looking for another DIY project, you can just pick up a commercial hop spider and be done with it.
Most of them are stainless steel mesh baskets, although we found one good spider that allows you to use bags, if you prefer.
MoreBeer! Stainless Steel Hop Spider
Are you into small batch brewing? Check out this hop spider from MoreBeer! It holds 10 to 11 ounces of hops, and measures 13.75 inches long. Great for deep brew kettles!
The spider also has a longer hook so the filter sits lower in your kettle, which can help keep hops from splashing out during your boil. Made with 300 micron stainless steel mesh, the MoreBeer! hop spider will catch 99% of the hop debris.
Keep hop debris from clogging up your ball valve with our recommended hop spider for deep brew kettles.
G Francis Stainless Steel Hop Spider
Good for any brewing system, just hang it off the edge of your kettle during the boil. It’s almost two inches shorter than the MoreBeer! spider, making it a good choice for a shallower kettle.
It also holds one gallon of hops and is dishwasher safe as long as you wash it in a separate load with no soap.
Gooday Stainless Steel Hop Spider
The corrosion, heat, and pressure resistant hop spider from Gooday is ideal for high-volume brewing. It can withstand both high- and low-temperature environments, and has two hooks for added stability.
Another advantage, the filter is straight rather than tapered, giving your hops more room to move, allowing for a higher level of essential oils extraction.
Strange Brew Hop Spider
If you’d rather use a bag than deal with having to clean and sanitize steel strainers, the hop spider from Strange Brew is one of the few commercial options of its kind. Like the DIY spider we discussed, it holds the bag open so you can easily add hops throughout the boil.
The stainless steel arms of the spider are nine inches long, so it should fit most kettles. It also comes with adjustable anti-slip silicone sleeves.
Best Hop Spider Bags
If you’re making your own spider or buying a frame that uses bags, make sure you look for food-grade bags. If you don’t already have a favorite, we found a few options for you to choose from.
The Weekend Brewer Brew in a Bag
The Weekend Brewer’s reusable polyester drawstring bag can be used for both grain steeping and hops additions. The bag is large—26 x 22 inches—so you have plenty of room to adjust it for your spider. If it can hold up to 20 pounds of grain, it can fit all the hops you could ever want.
Just remember not to squeeze the bag when removing it from the kettle, and make sure the bag does not touch the bottom during the boil.
BrewBag’s smaller nylon hop sacks are easier to fit around any hop spider setup. The bag is roughly seven inches wide and just ten inches tall, making it ideal for shorter kettles.
You can use it for larger, less hoppy brews as well. Just remember to not overfill the bag.
Home Brew Ohio Nylon Straining Bag
The fine mesh nylon straining bag from Home Brew Ohio doesn’t have a zipper or drawstring, so it might be easier to attach to your hop spider. It’s 23 inches long, so it can fit larger kettles while still working for smaller batches.
Possibly best of all, it’s super inexpensive, so it’s perfect if you’re a homebrewer on a budget.
Brew delightfully hoppy beer and spend less time fiddling with congested hoses or straining your wort before getting it to the chiller. As long as you build a solid hop spider or buy a high-quality commercial one, you can easily sanitize and reuse it.
Either way, a hop spider will make your next brew day so much easier, which makes your homebrewing hobby that much more fun.
Happy Brewing!


